When I was laid off, effectively forcing me to retire, and the COVID-19 pandemic hit immediately, I was left with “what shall I do with my time?”. Years ago, I had done stained glass and thought why not give that a try again.
I set up a small section of my garage, bought a stained glass starter kit and away I went. I was actually surprised at what I had retained and shocked by what I still needed to learn and perfect. Over these past several months with all the practice I have had, I think my skills have improved a good deal. I have found a creative outlet by incorporating recycling bottles as stained glass projects, but those are shared on the Bottle Crafts page. I will share my stained glass projects on this page, so keep checking back. I tend to complete a project every week.
Latest Project

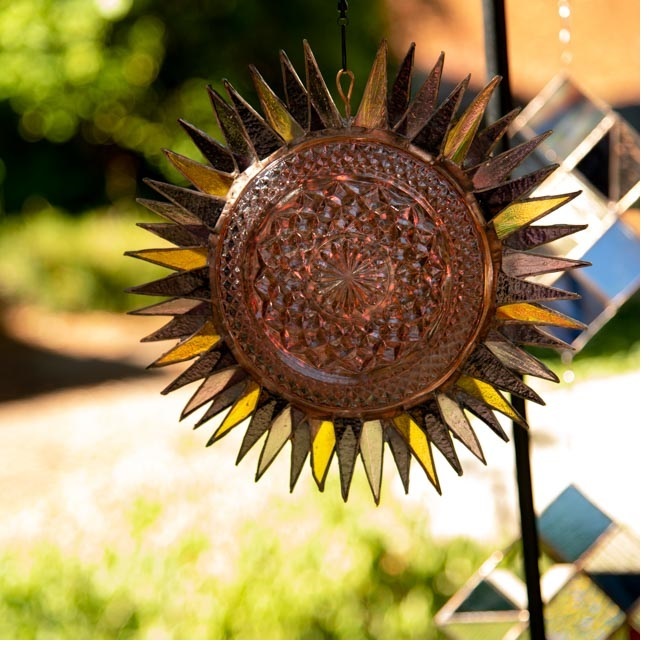

This is not your typical sinner. At least not by the traditional stained glass sense, but I did attach this with a spinner swivel so it does spin.
I went to a local thrift store and found some of those old cut glass dishes. I was thinking there was something I could do with them and came up with this spinner like idea. I sandwiched a piece of light purple glass between two of the cut glass plates and then added a mix of purple and gold glass. I can’t decide if it is a sunflower of just the sun, but when it spins it looks very different in each perspective.
This one was fun to make.
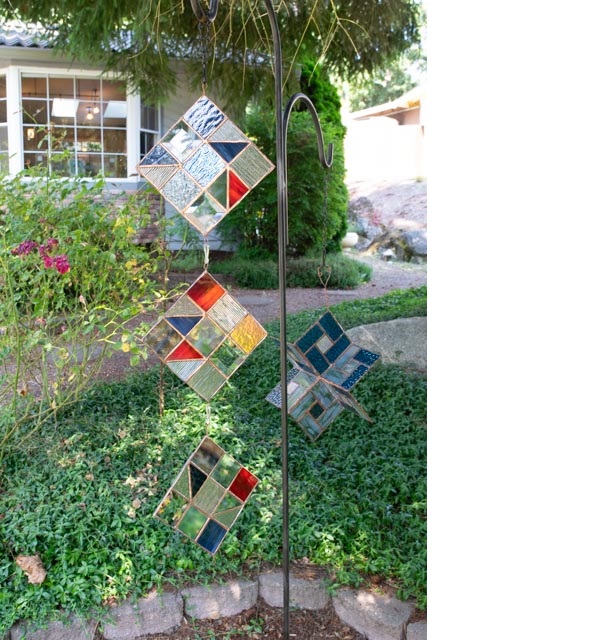
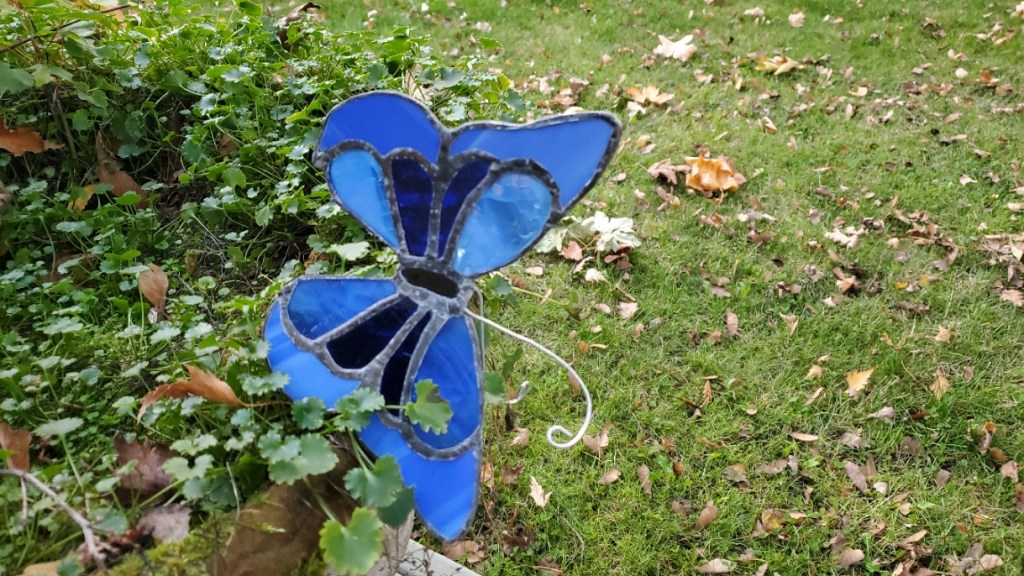
Spinners
If you follow stained glass at all, you know that everyone is making spinners. They are kinda cool, but there is a little bit of a trick to them. The first spinner I made is the blue one on the right in this picture. I included a fair amount of wire reinforcement because of our NW winds. That is much easier said than done. Trying to keep it “invisible” was a challenge. This one does not spin as much as I thought it would. I do have it hanging from a swivel hook, but it doesn’t swivel much. I believe it is a weight or balance thing.
I then decided to make a spinner X3. The spinner(s) on the left are individual panes, each wrapped with copper wire for strength and a swivel hook between all of them. The bottom spinner spins like crazy, the second spinner sometimes spins, and the top spinner rarely spins, even in a strong breeze. Again, this is a weight issue I believe. When there is no weight hanging below a panel, it spins freely.
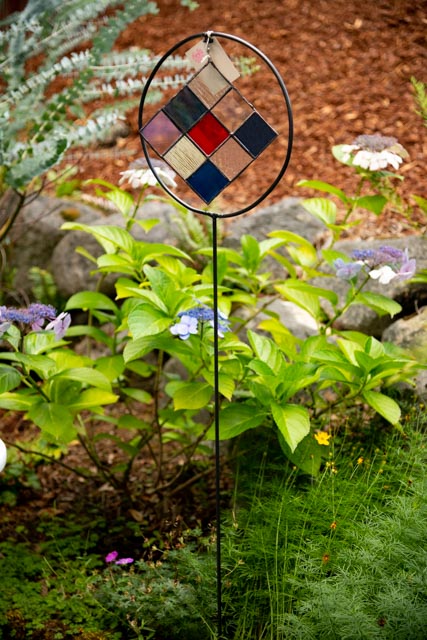
Originally, I made 4 panels for the spinner above, but I found that with each added spinner, the panel above it spins less or not at all. So, my husband built me a garden stake so that I could have a mounting for the fourth spinner panel. I plan to ask him to make another so I can put the third panel from the spinner above in it’s own separate hoop stake. I don’t think I will stack more than two panel spinners together. If it had worked as I had hoped, it would have been cool to have 3 panels spinning independently, but I will just have to settle for 2.

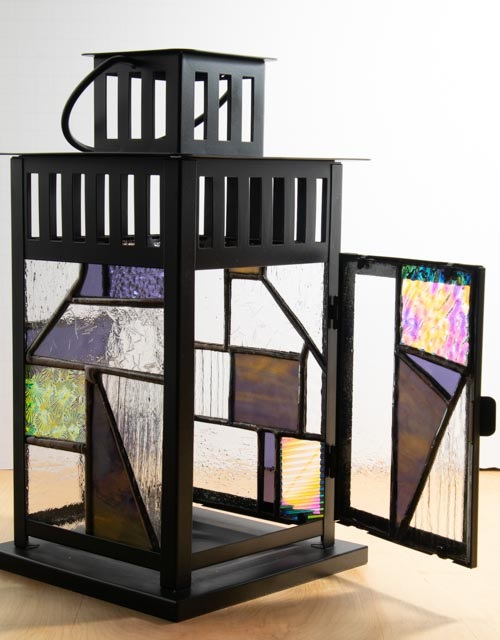
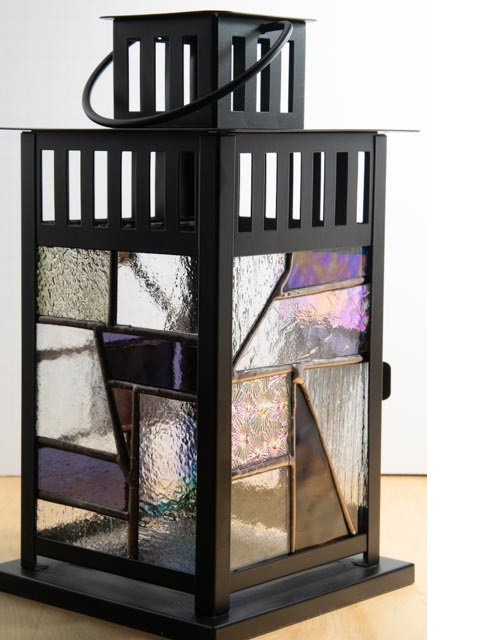
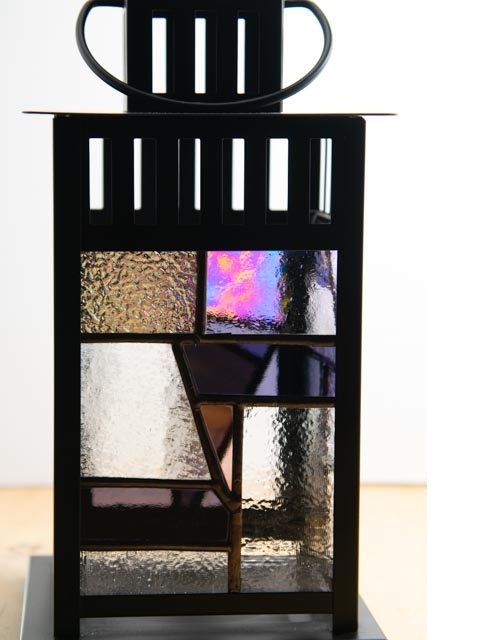
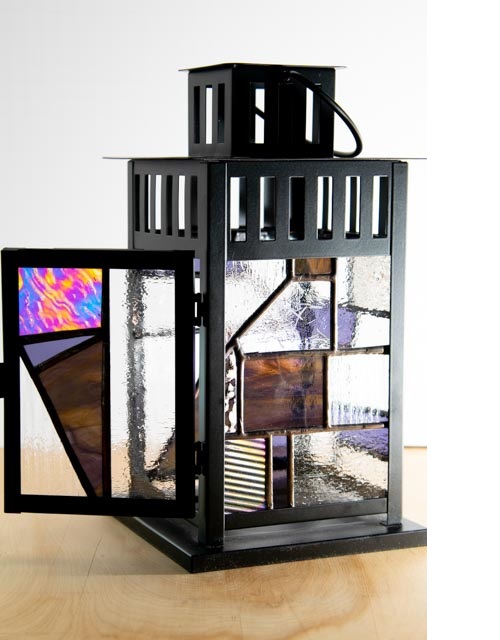
Outdoor Lantern
I call this one “Purple Haze”. It is a mix of architectural clear glass, various shades of purple and some diacritic glass to give it a little pizazz.
The most difficult part of this was the design. Using as much scrape glass as possible was the goal. But I didn’t want to cut a lot of small pieces after doing 2 lanterns in fused glass using the mosaic technic. This one was a joy to make and I really love how it turned out. I have one more black lantern to make and I think I will do that one in stained glass as well.
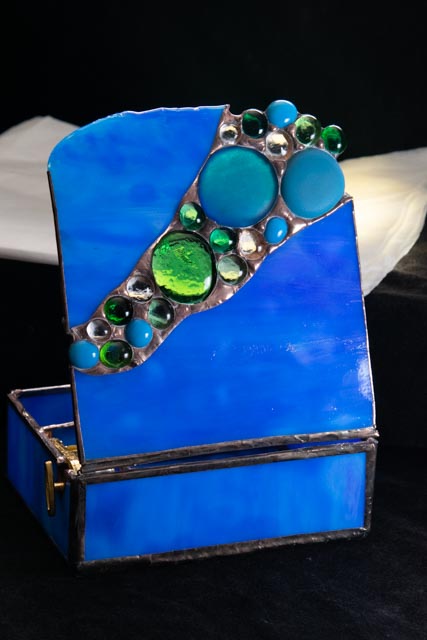
I call this one a “Walk on the Beach”.
The tricky part of this box was how to install the music box. I wanted to make sure it was protected from any items that placed in the box. The other issue was exposing the winder arm. I used the glass grinder and the smaller bit to carve out a groove in the glass. I then built a protective box around the music box. The music box slides down into the internal box. A little E6000 glue was applied to the top ridge of the music box to hold it stable while winding it.
The picture shows up silver, but the solder is all copper patina.
When I look at the box, which is several shades of blue, I think of a stone walk down to a beach.
This project was a fun challenge.
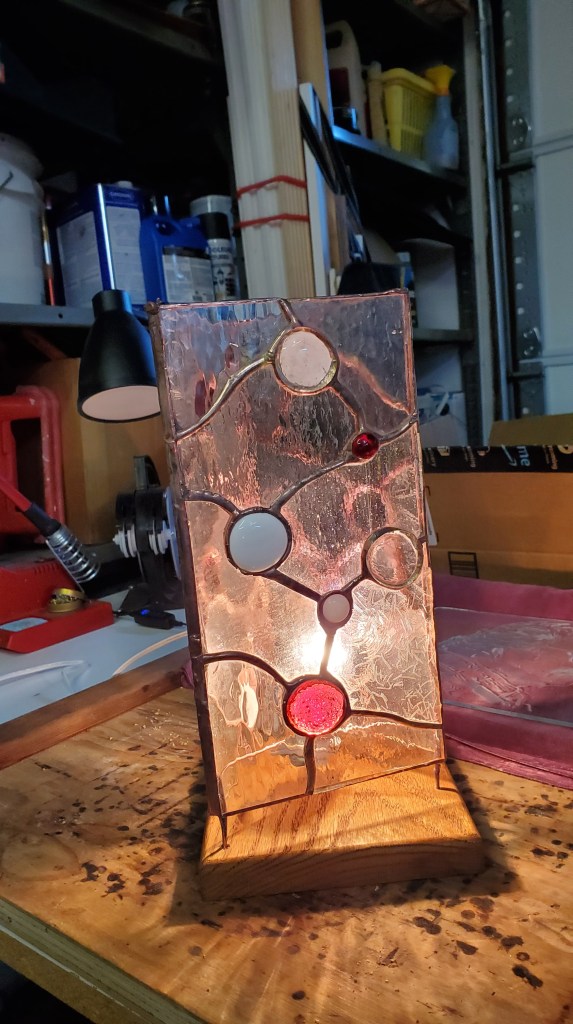
This was a gift made for my 21 year old grand daughter. What do you make for someone of that age?
This lamp is 3 sided, with each side having it’s own unique design. The theme of bubbles is all the same, but the arrangement and colors are mixed differently on each side.
Copper wire was used to hold the night light bulb just a few inches from the bottom and the same wire is extended long enough to glue into holes drilled into a wooden base.
The response I got when she opened it? “So cool!” I think that means she likes it.


Storage with night light
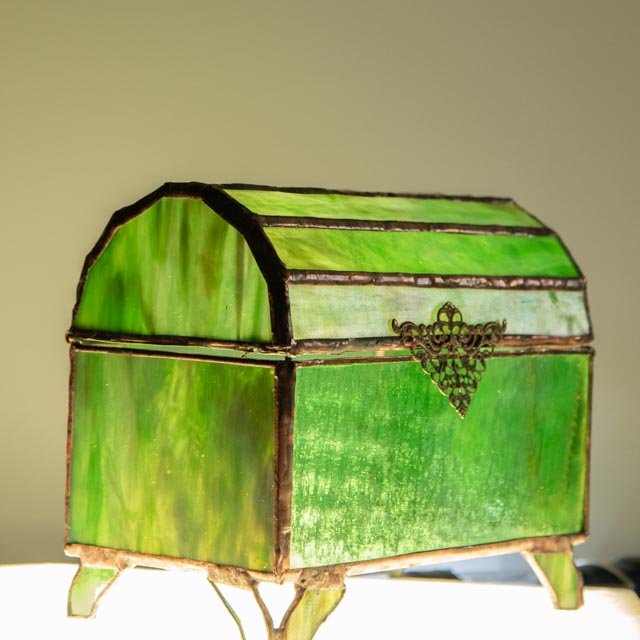
This is one of may favorite pieces. I love the color. The challenge with this box was making sure the top planks were straight. This was where the jigs came in handy again. My husband has cut me a selection of jigs that have really made it like I have a third and fourth hand now.
This gift was given with a selection of hand made cards made with my husbands photography. The box is meant to be used to hold stationary. Obviously, it was gifted to someone who enjoys writing letters, notes and cards.
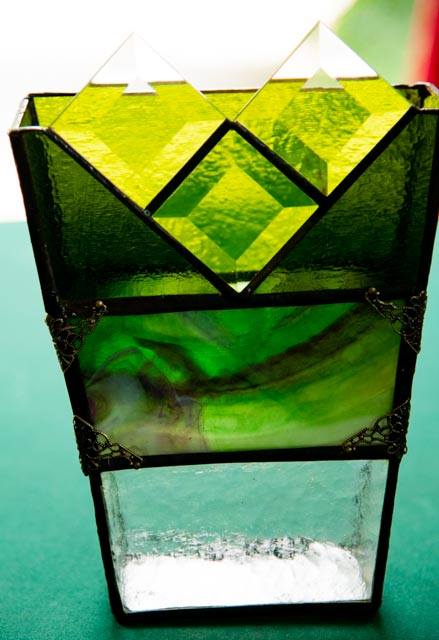
I love how this vase turned out. It was one of the first items I did when returning to stained glass. The greatest challenge with this was the angles. I didn’t know if I should construct all 4 sides and then solder them together or construct each section. Either way, the angles were hard to solder together neatly.
This vase taught me to build jigs that allow me to hold the glass at angles that make it easier to solder the pieces together neatly. The best way to achieve a neat solder line is to try to keep the seam you are soldering as level as possible. This way the solder does not flow and “pool” into large sections. It also makes it easier to clean up the line and even out the solder.
To waterproof and allow the vase to hold water, I “paint” the seams with clear silicone using a very stiff artist brush.

Using the lessons learned from the above vase, this one was made as a Christmas gift for a family member.
I love the colors in this one.
The lesson I learned on this vase was the importance of tracking my inventory. I love this glass so much, I would like to use it in other projects, but I don’t recall where I purchased it and what the stock number is in order to repurchase it. I have since gotten an inventory software. I just need the time to get all the information into it. Maybe I will run across the information I have on this as I do the input?
The recipient appears to be very happy with this gift. I love it when I make something that someone else appreciates.
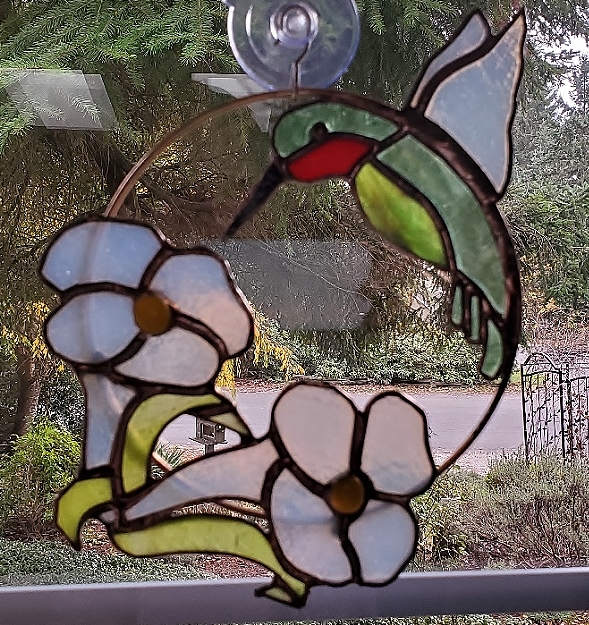
This is a gift made for a very dear friend for Christmas. The original design was not meant for the brass circle. It was actually a suncatcher where the flowers were attached to the humming bird by the beak using wire. I chose to put it on the brass circle for strength and versatility. This way, the suncatcher can be rotated on the ring to any angle desired.
This piece turned out pretty nice.

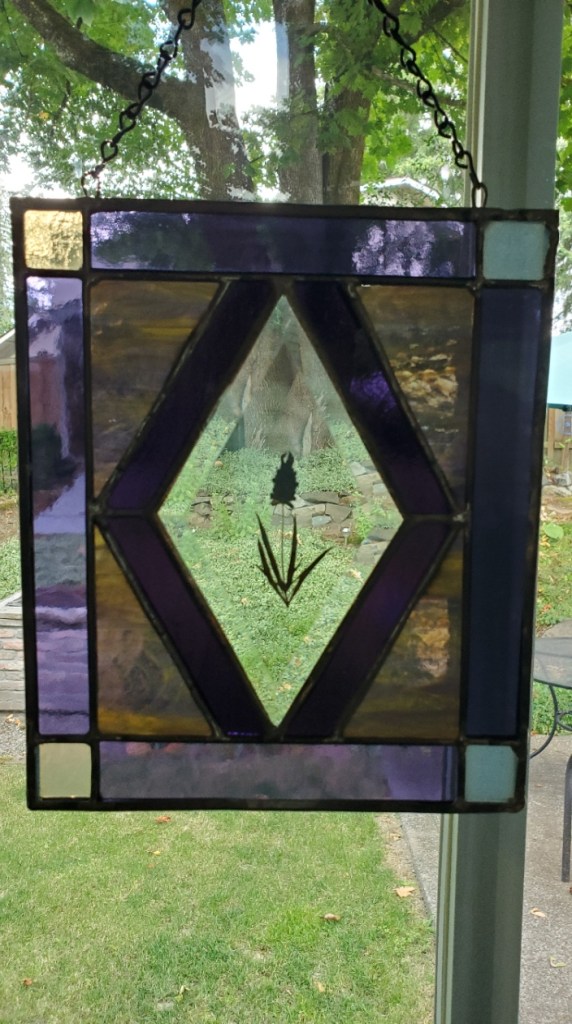
This little suncatcher was also a gift made for Christmas.
The black patina draws the eye to the glass much more than the original silver solder. The glass was cut to take advantage of the variances in the purple to try and give a natural look to the iris.
If I was to do this over, I would not use two shades of purple glass. I would stick with the bluish purple and try to find lighter coloring in the glass sheet that I worked from. Sometimes with the differences in glass colors in the same sheet of glass, you can work on effect. Sometimes, you just over think it and make decisions that don’t work out exactly how you planned. All in all, I like this piece.
This is the first garden stake I made. I had a hard time finding something to use as the stake and how best to attach it.
Each garden item will have it’s own challenge with how to stake it. This is also true for fused glass flower stakes. I’m still working on all the possibilities. I’ll post to this blog when I have identified all the methods.
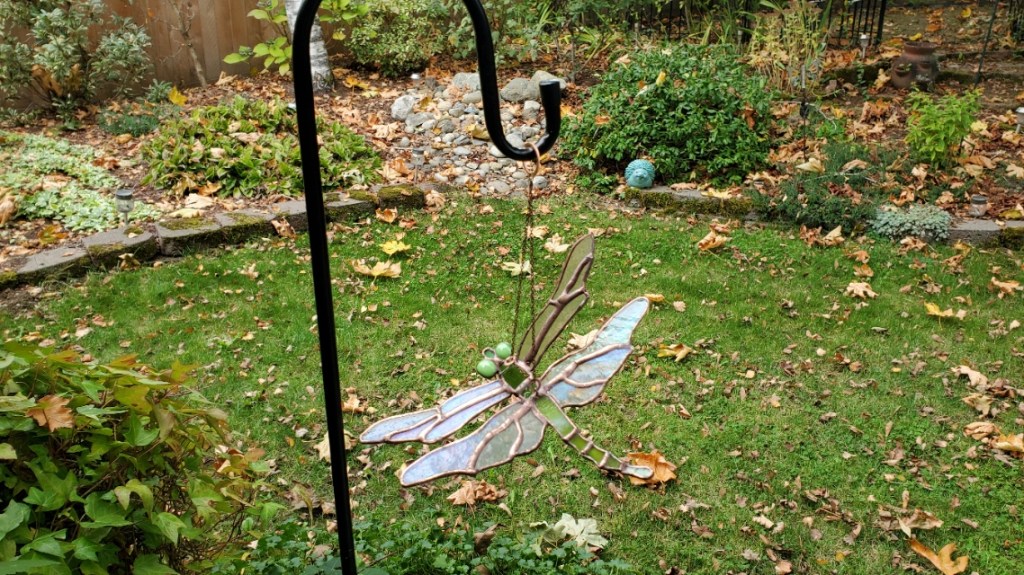
Unfortunately, this is a little hard to see, but it is a stained glass dragonfly. The wings on this dragonfly are built with wire so that they can be bent either up or down to give the dragonfly some dimension.
This was also given as a gift at Christmas.
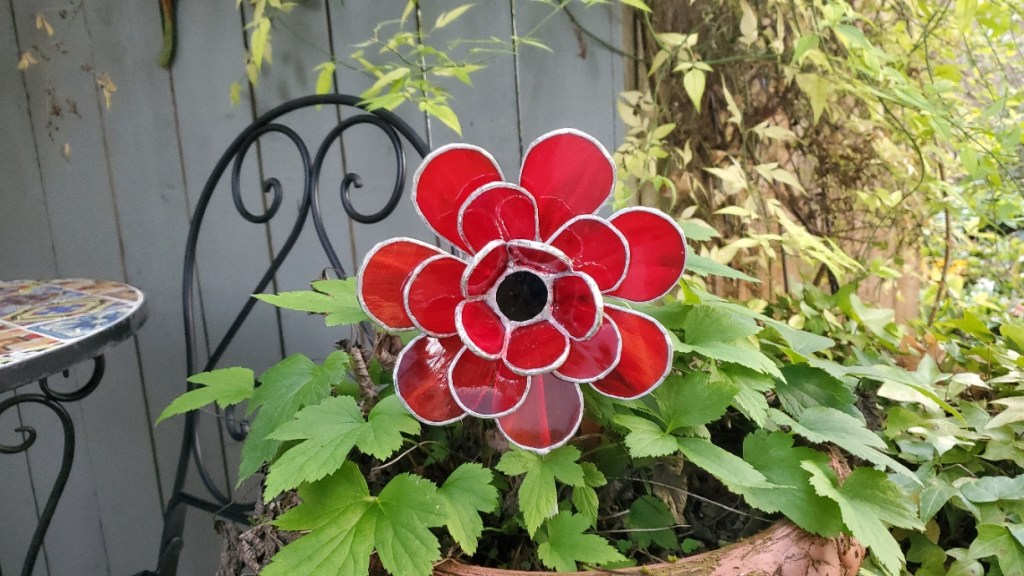
This flower is also a garden stake. The flower is a little on the heavier side, so again it was a challenge to find something to stake it with and manufacture a was to attach the stake. I ended up making a loop that limited how far the stake could slide down the back of the flower. This allows the flower to swivel with the wind.
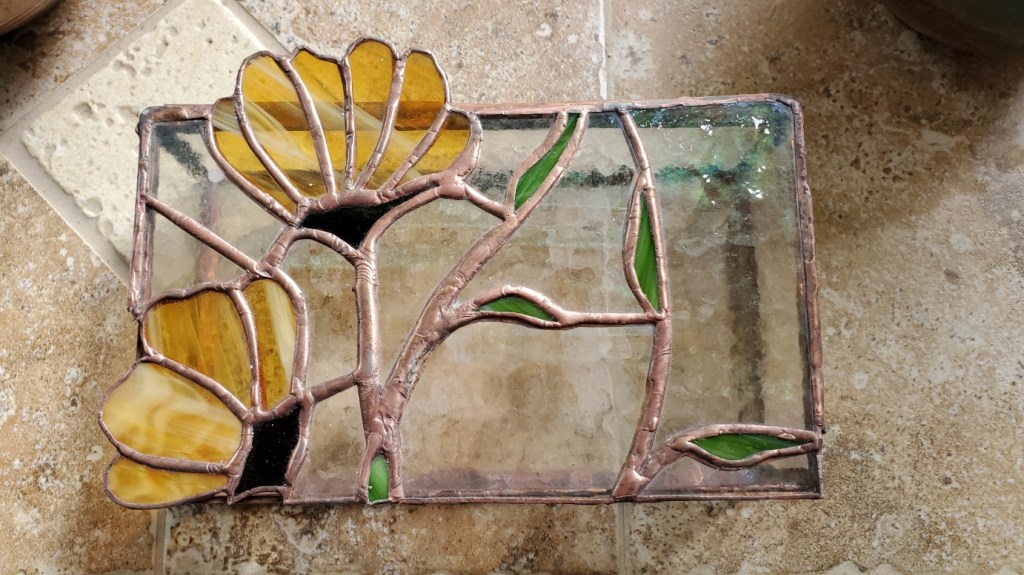
Another gift for Christmas. This pattern was originally part of a large panel. I cropped it down to just what you see here. The flowers are arranged to be used as a means to open the box on the left and to allow the box to stay open without the need for chain to be soldered to the inside of the box. Wire was also incorporated into the top of the box along some of the solder lines to add strength.
After being away from stained glass for about 20 years, this was the first item I built when I decided to get back into it. The lavender that is mounted between a bevel glass and a backing of clear glass was cut from a bush in our front yard. I dried and pressed it then put it between the glass. This piece is a blend of both copper foil and lead came techniques.
Unfortunately, this has since been redesigned, as it met with the great suction cup failure disaster. After being secure to the window for several months, it crashed to the floor and broke three of the four sides. Only the inner square was salvageable. It is now waiting to be turned into a box..
